# 1 Supplier for Action Sport Stunt Airbags
Looking to change up where you send it? Whether you’re traveling a long distance or just down the road because a fellow rider invited you to try out a really cool ramp they built, you’ll want a stunt mat that can go the distance.
With the right tools, teamwork, and careful planning, you can move your airbag easily and set it up wherever you need. Follow our step-by-step guide below for safe and efficient airbag transport.
All it takes is a little planning, a little know-how, and a little willingness to defy gravity.
Portability only helps if your gear is easy to move and set up without the entire day turning into a full-blown family engineering project (unless you’re like us and love a good physics lesson!). Knowing how to transport your gear easily means more ride time in more places, and less frustration.
Flexibility is great for families and hobby riders who want more time on the bike and less time fighting with equipment or annoying setups. Convenient portability makes practice easier to start and quicker to wrap up.
That’s where Gravity’s stunt airbags continue to shine, as even with our larger models weighing up to 500 pounds, taking your fun on the go doesn’t have to be a challenge.
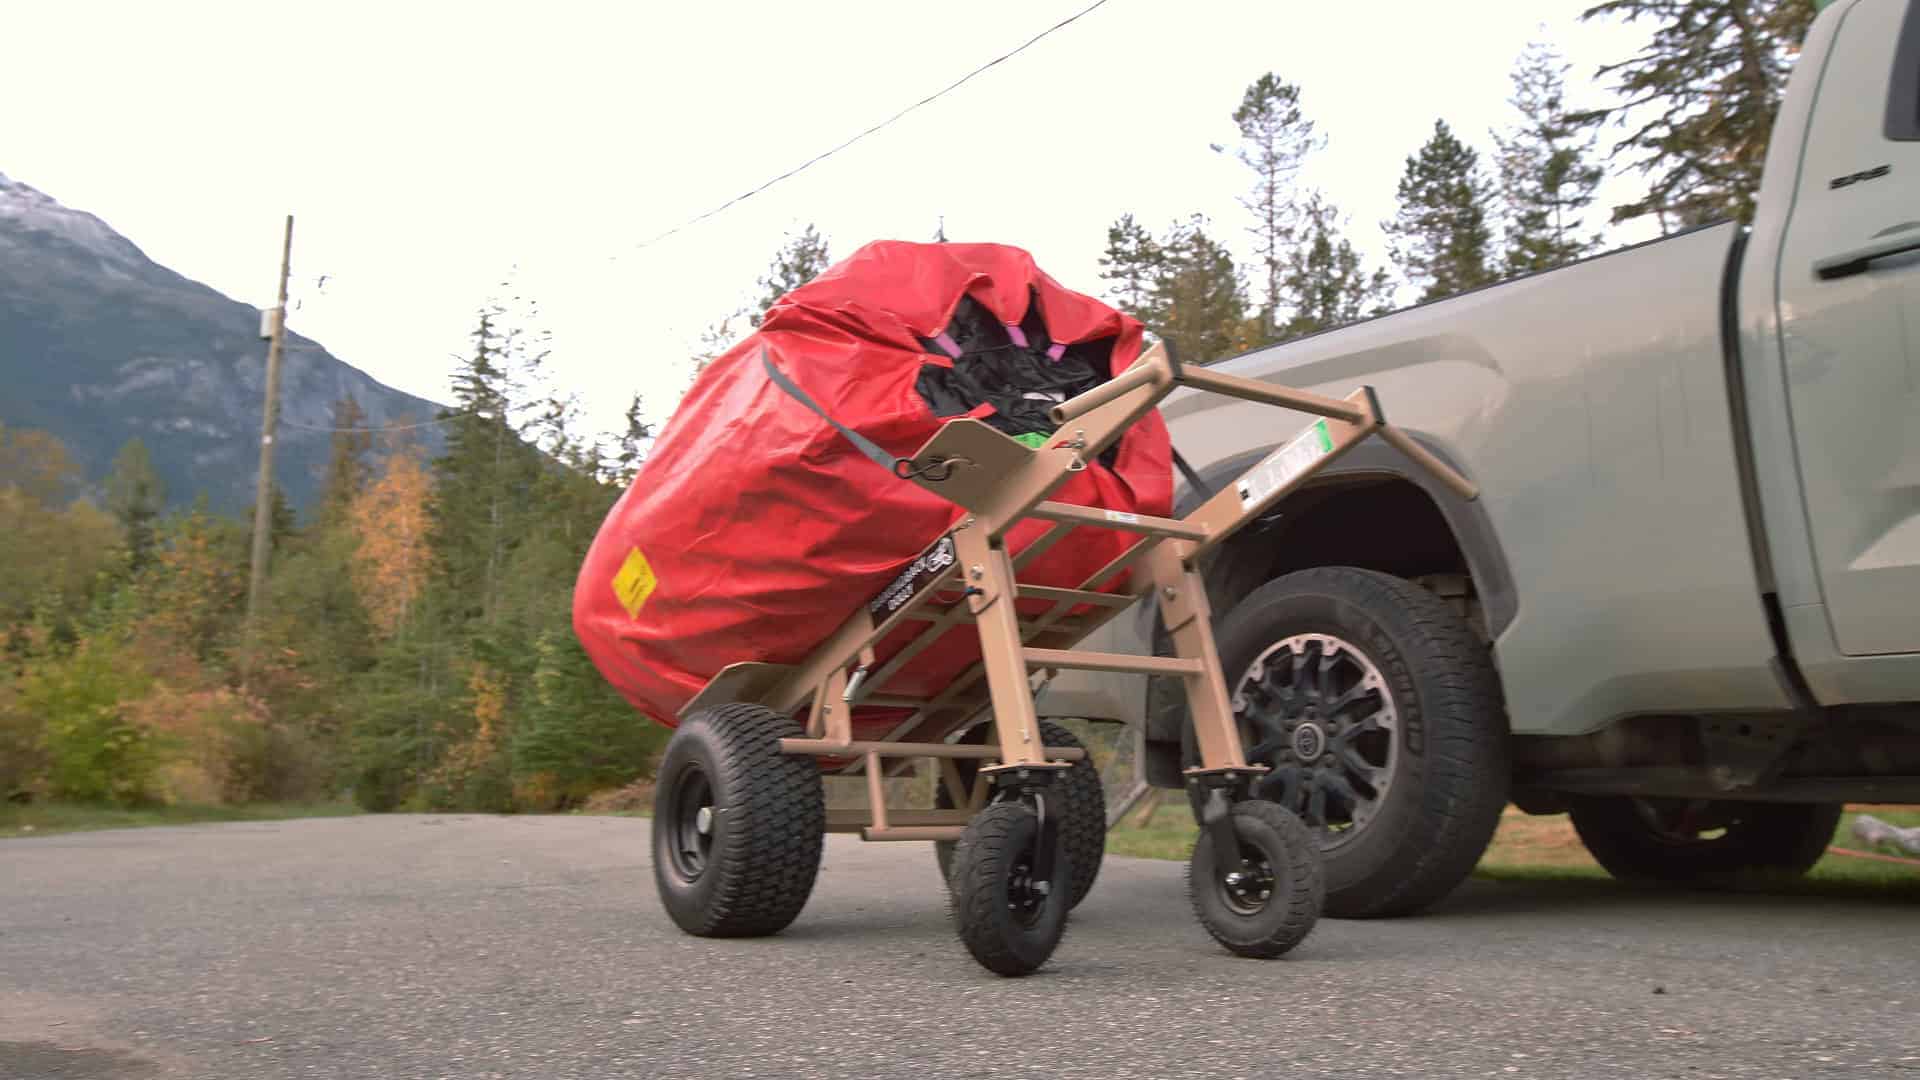
Moving anything is easier when you plan ahead. Make sure your transport space is flat.
As for transporting itself, you don’t have to reinvent the wheel: these are common household or garden tools that will also reduce strain and do more to ensure safe transport.
Now that you’ve checked off these loading basics, it’s time to give it a spin!
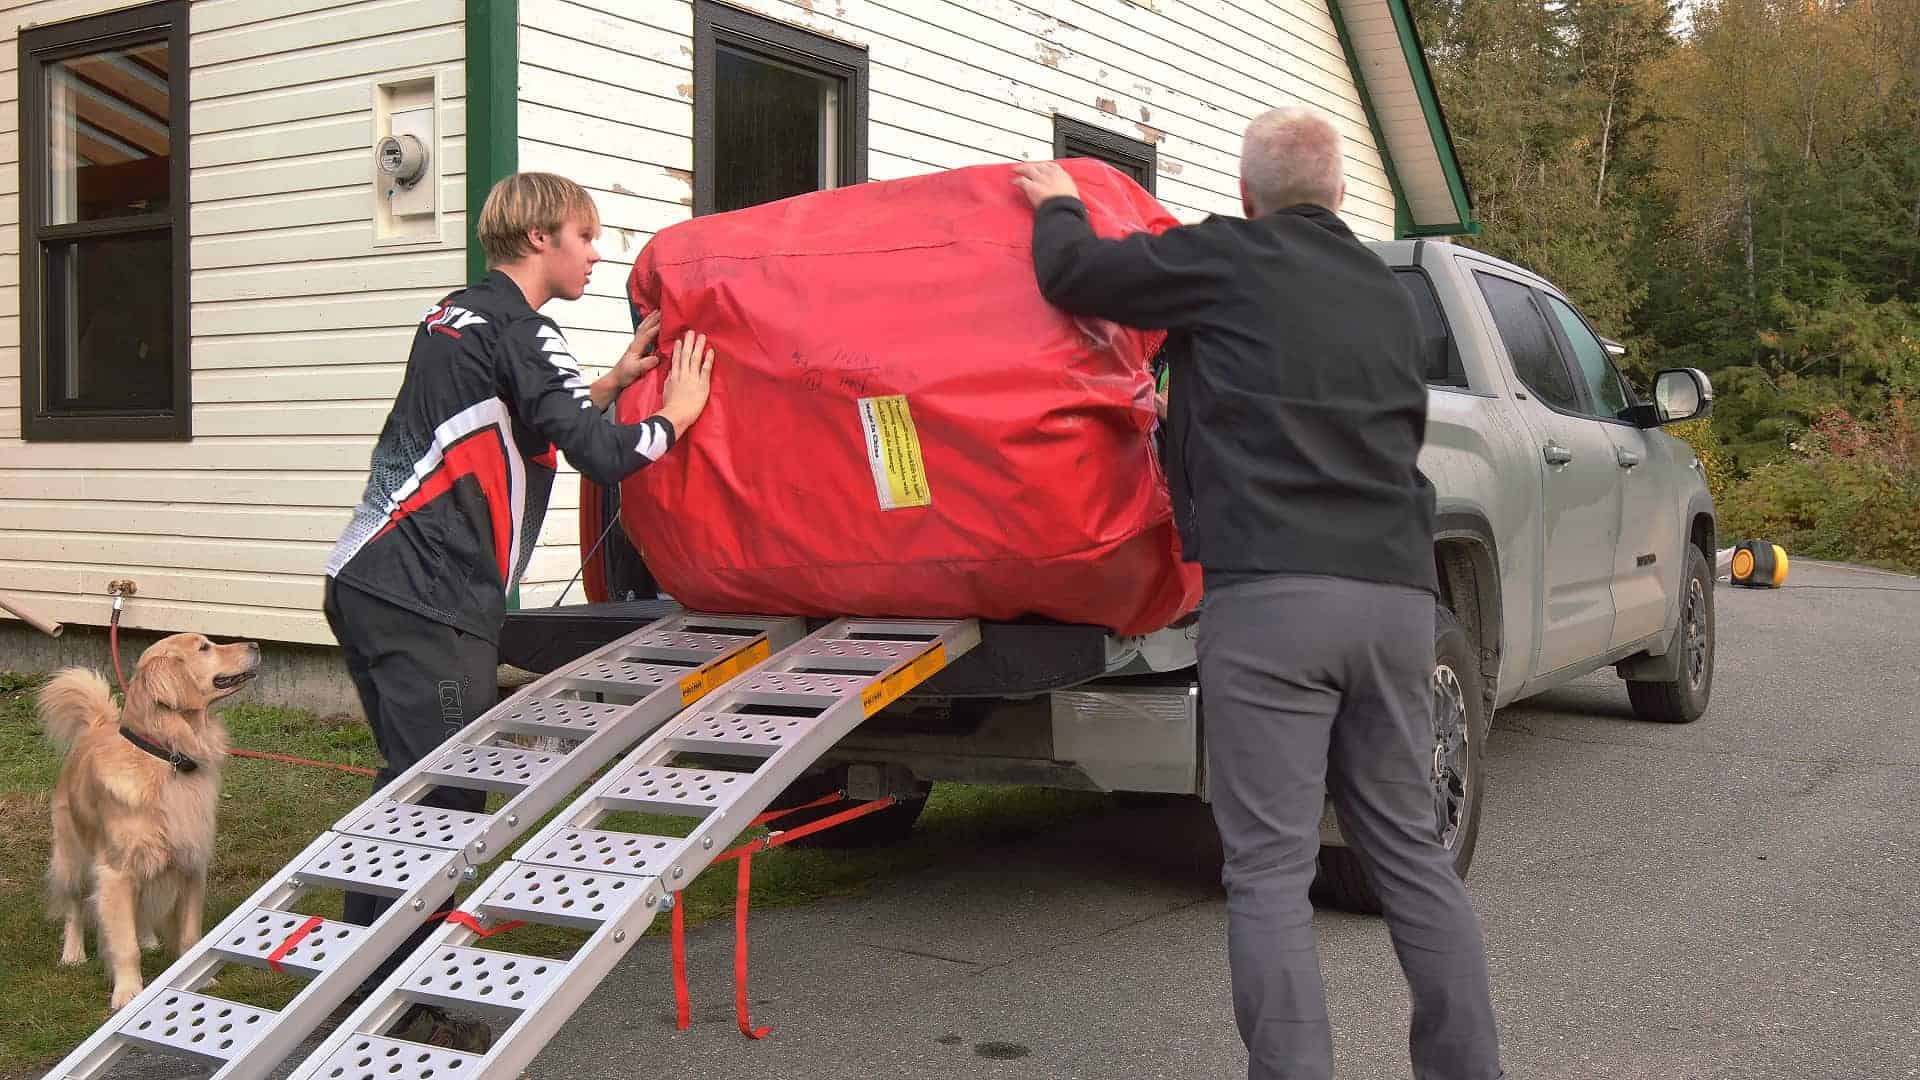
Don’t go it alone! You’ll need at least two to three people to move heavy airbags.
Teamwork ensures everyone's safety and prevents damage to your airbag.
It also doesn’t hurt to have a pair of eyes supervising (or snoopervising) your work, either.
Deflate and roll up the airbag (and make sure it’s clean and dry!).
Secure any loose straps or components to avoid dragging or catching during the move. This keeps you safe and preserves the durability of your landing ramp or airbag.

Place the dolly or cart near the airbag. Carefully lift one side of the airbag onto the dolly. This will require at least two people to avoid strain or injury.
Use straps or a rope to securely fasten the airbag to the dolly or cart. This prevents shifting or falling during transport.
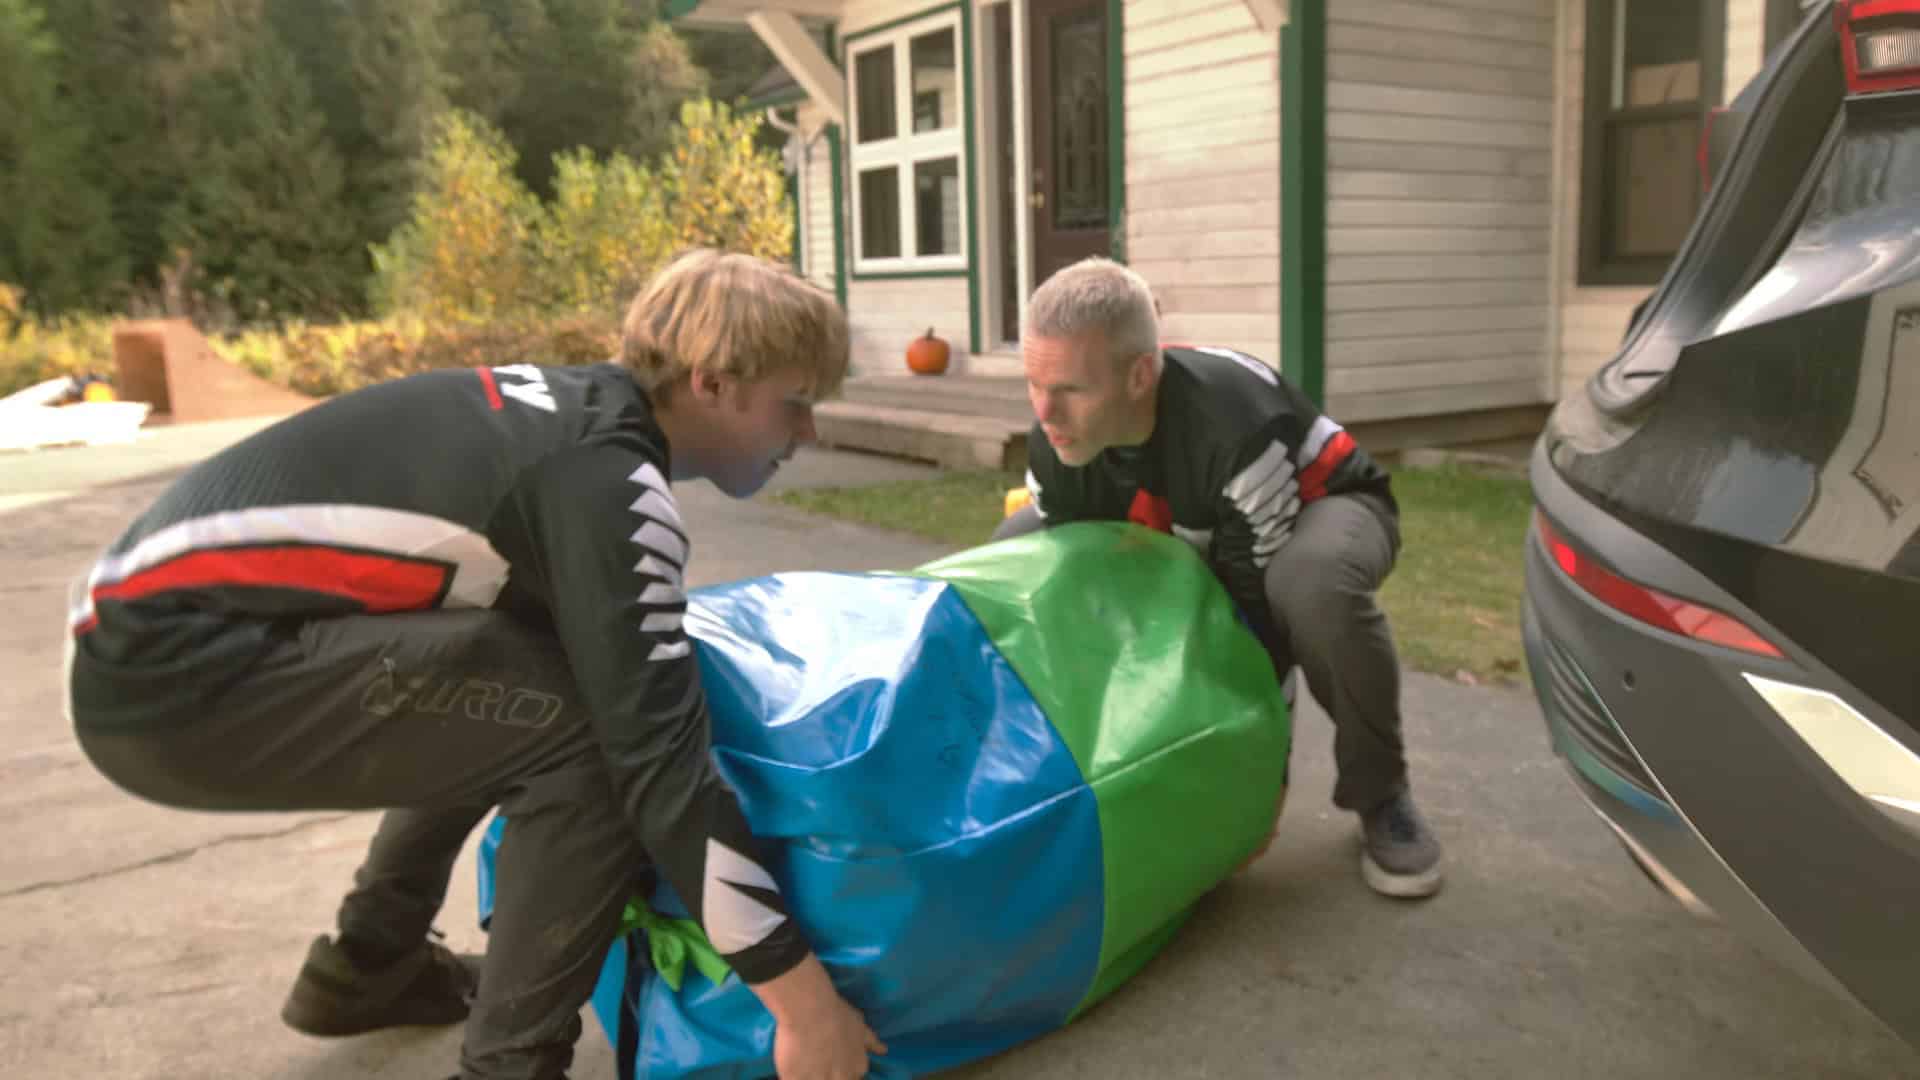
Keep the heavy bag close to your body and avoid twisting while you move. This will keep you from tweaking something in the process.
Go at a slow, steady pace to avoid accidents. Watch for obstacles or uneven terrain that might disrupt the move.
Always lift with your legs, not your back. For especially heavy or awkward airbags, don’t hesitate to ask for more help. For frequent moves or heavier models, invest in a winch or lift system to make loading and unloading easier.
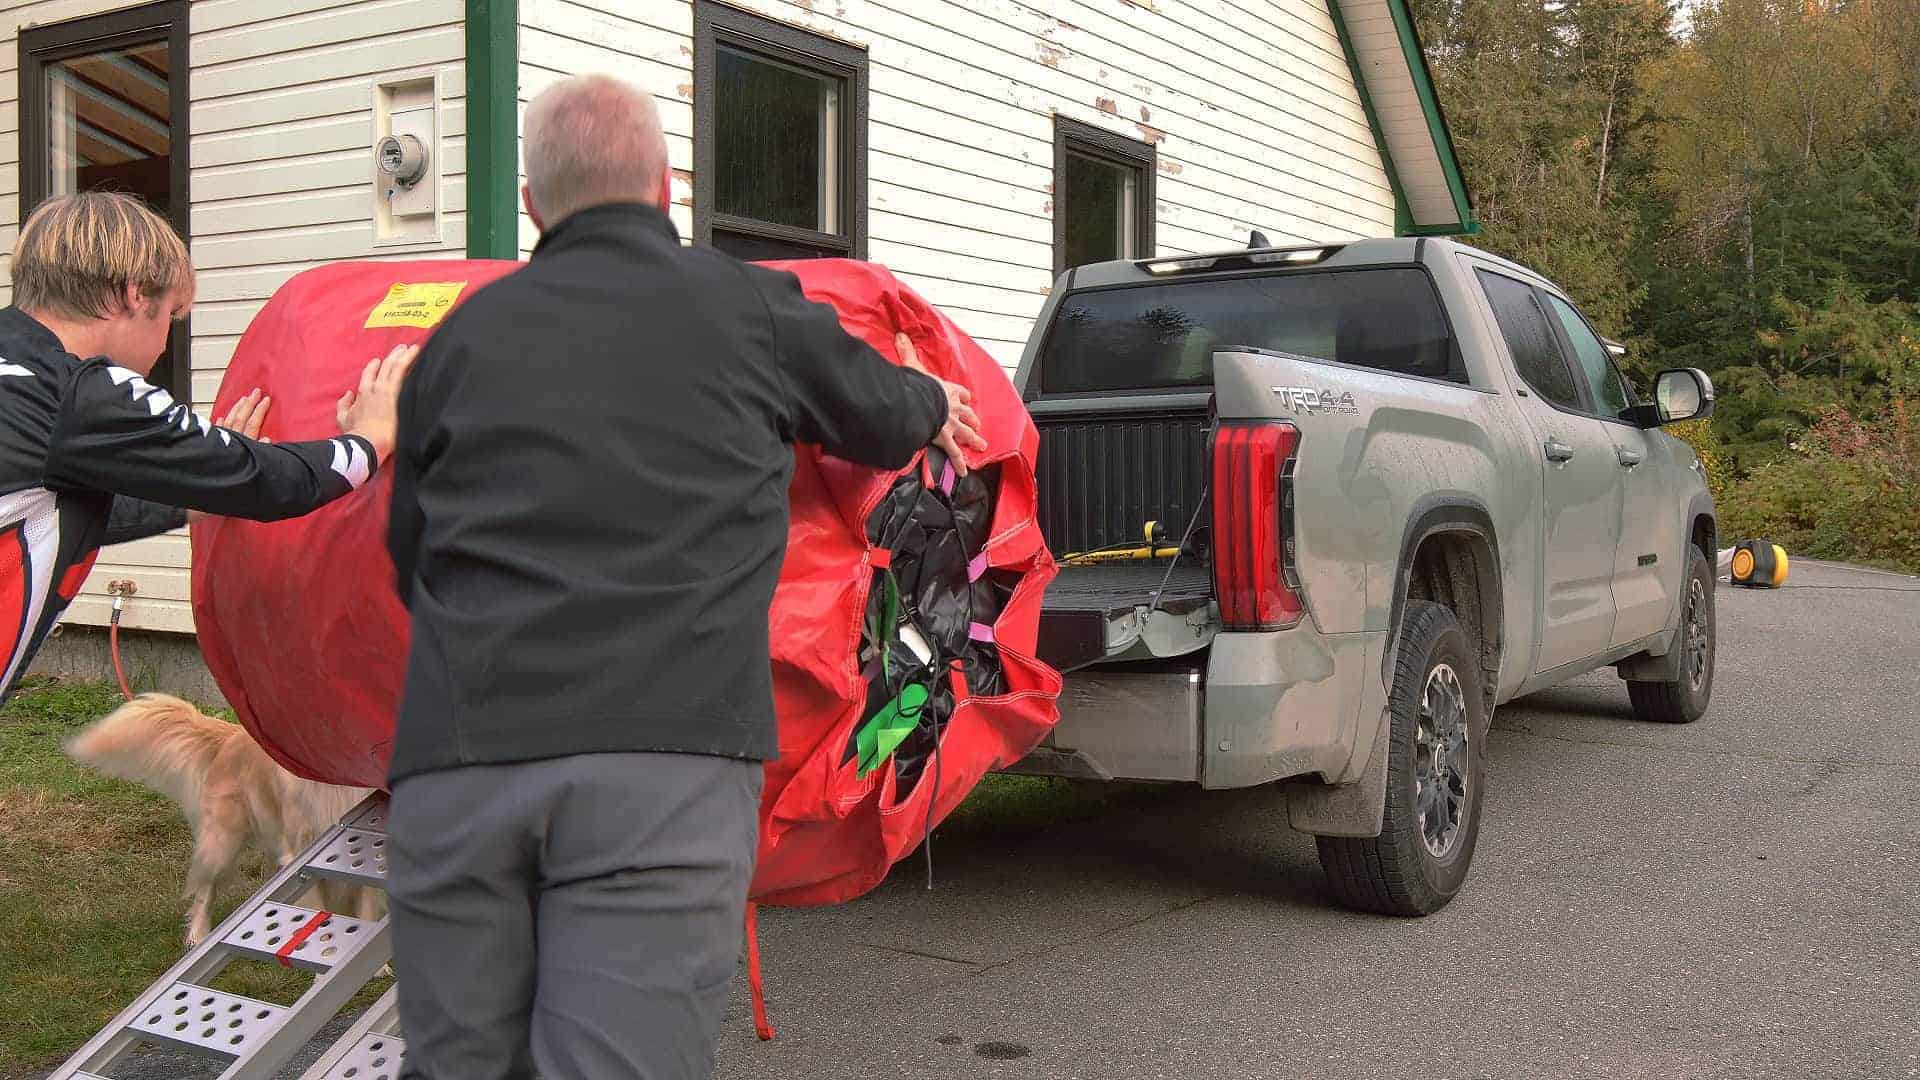
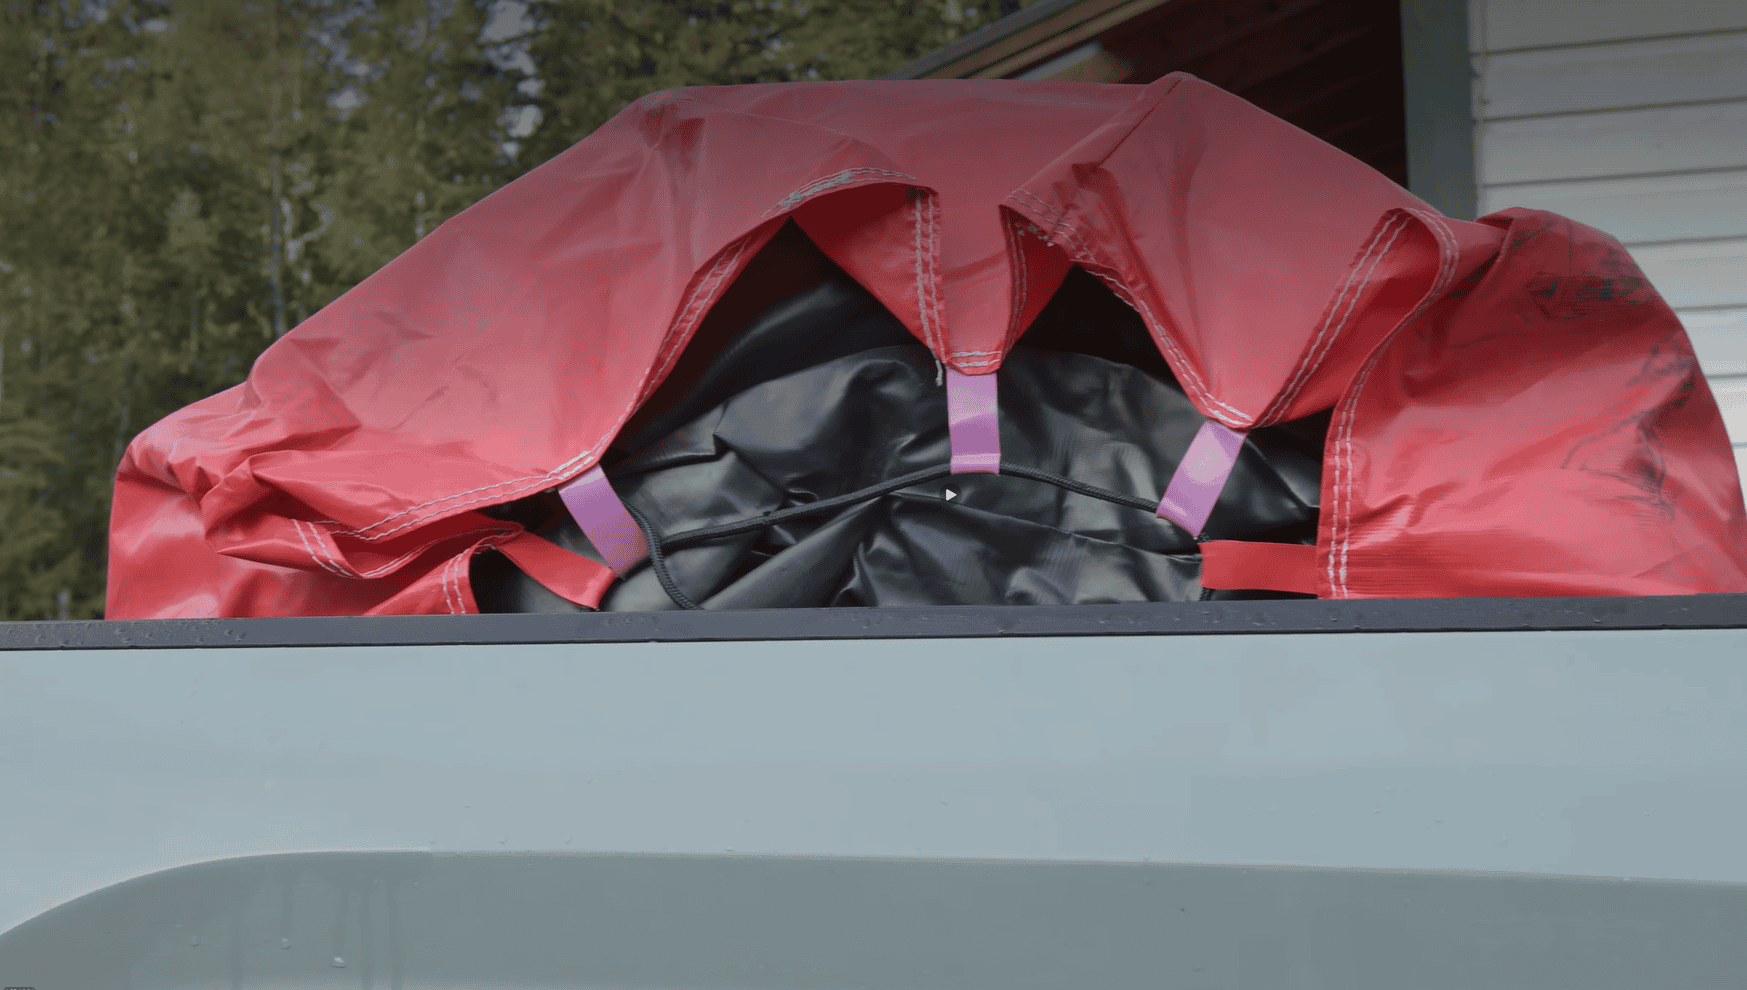
Use a ramp to load the airbag onto a truck or trailer. Secure it with straps or tie-downs to keep it stable during the ride.
Remember: Good teamwork beats a heroic solo carry effort. Save those muscles for your session.
Secure your load with straps or tie-downs to keep it stable, especially when driving on rough roads or uneven terrain.
This preventative measure keeps everyone and your bag safe from getting banged up or damaged along the way.
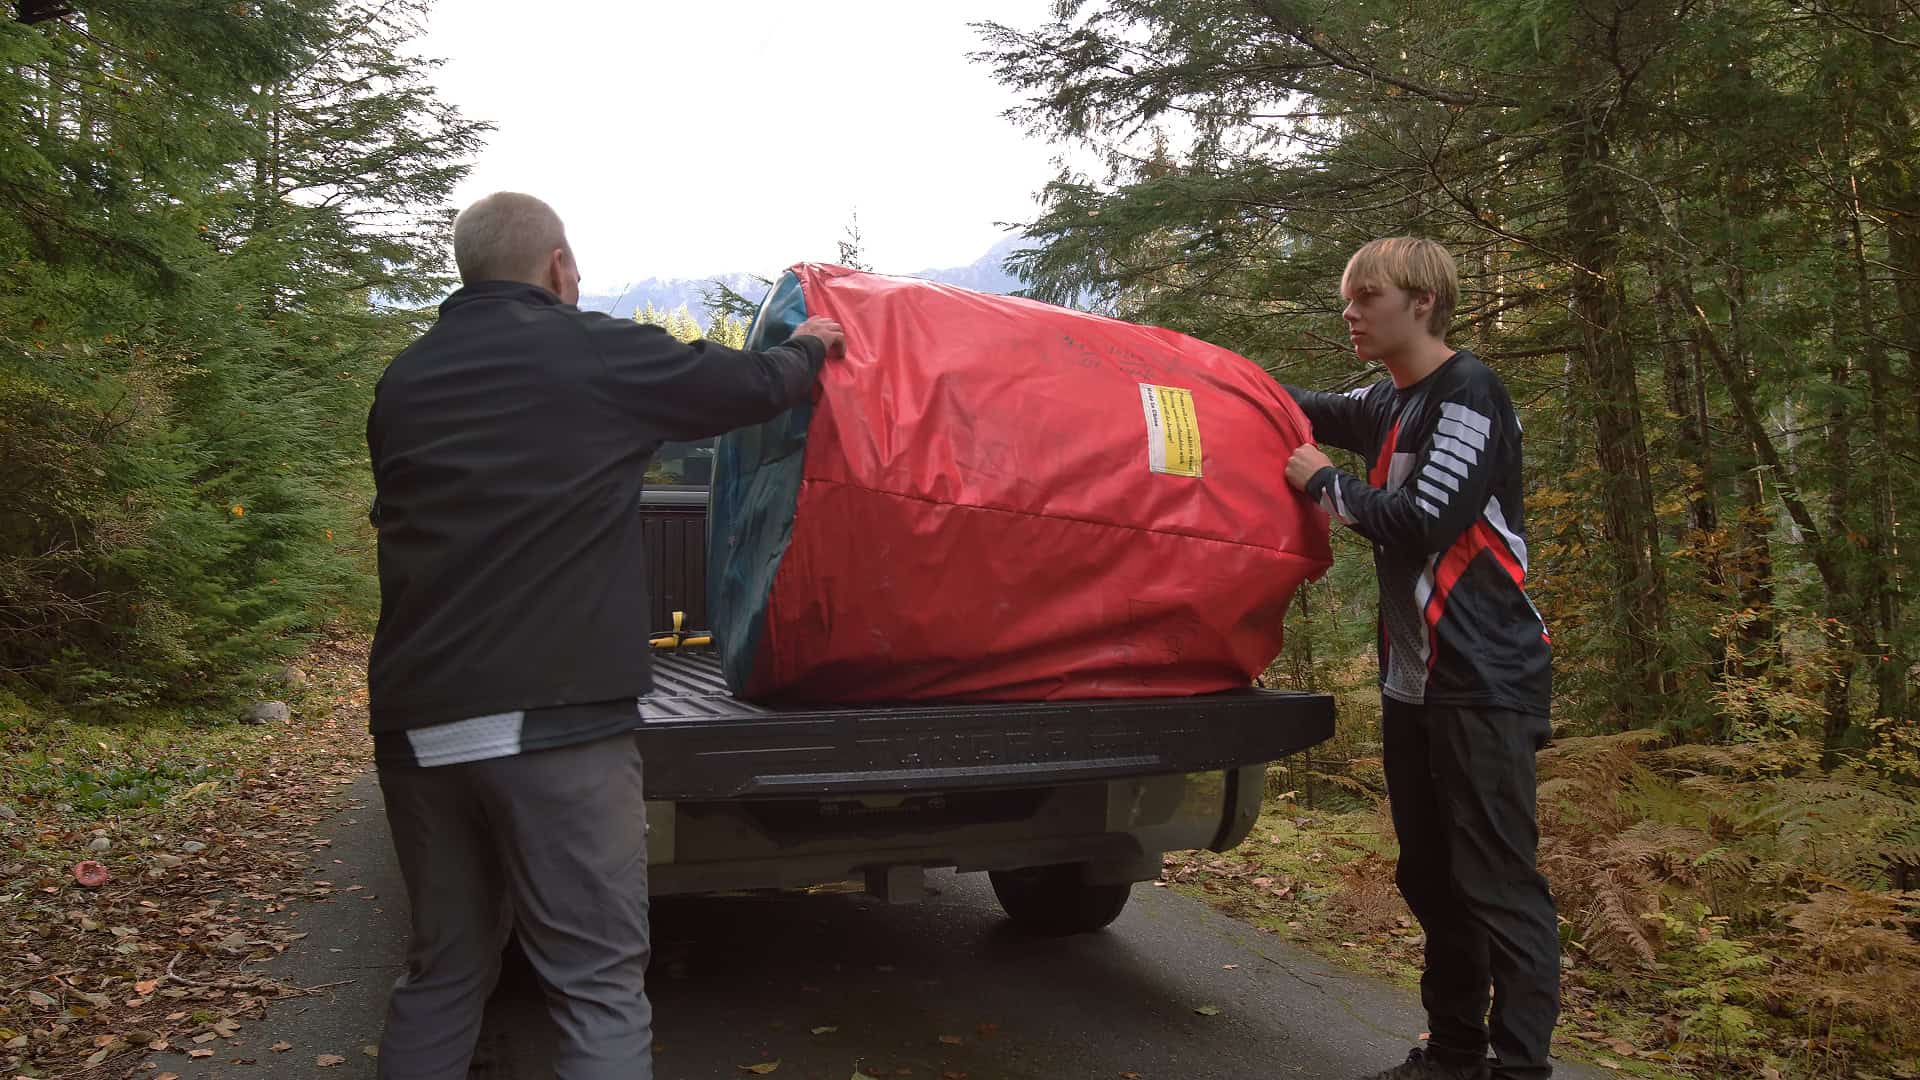
When unloading, reverse the process, and keep with the “slow and steady wins the MTB race” mindset. It can be tempting to let your enthusiasm get the better of you, and that’s also where one bad move could deflate your whole day. Have your team carefully roll the airbag off the vehicle or cart. Place it on a flat, clear surface to ensure a safe setup location
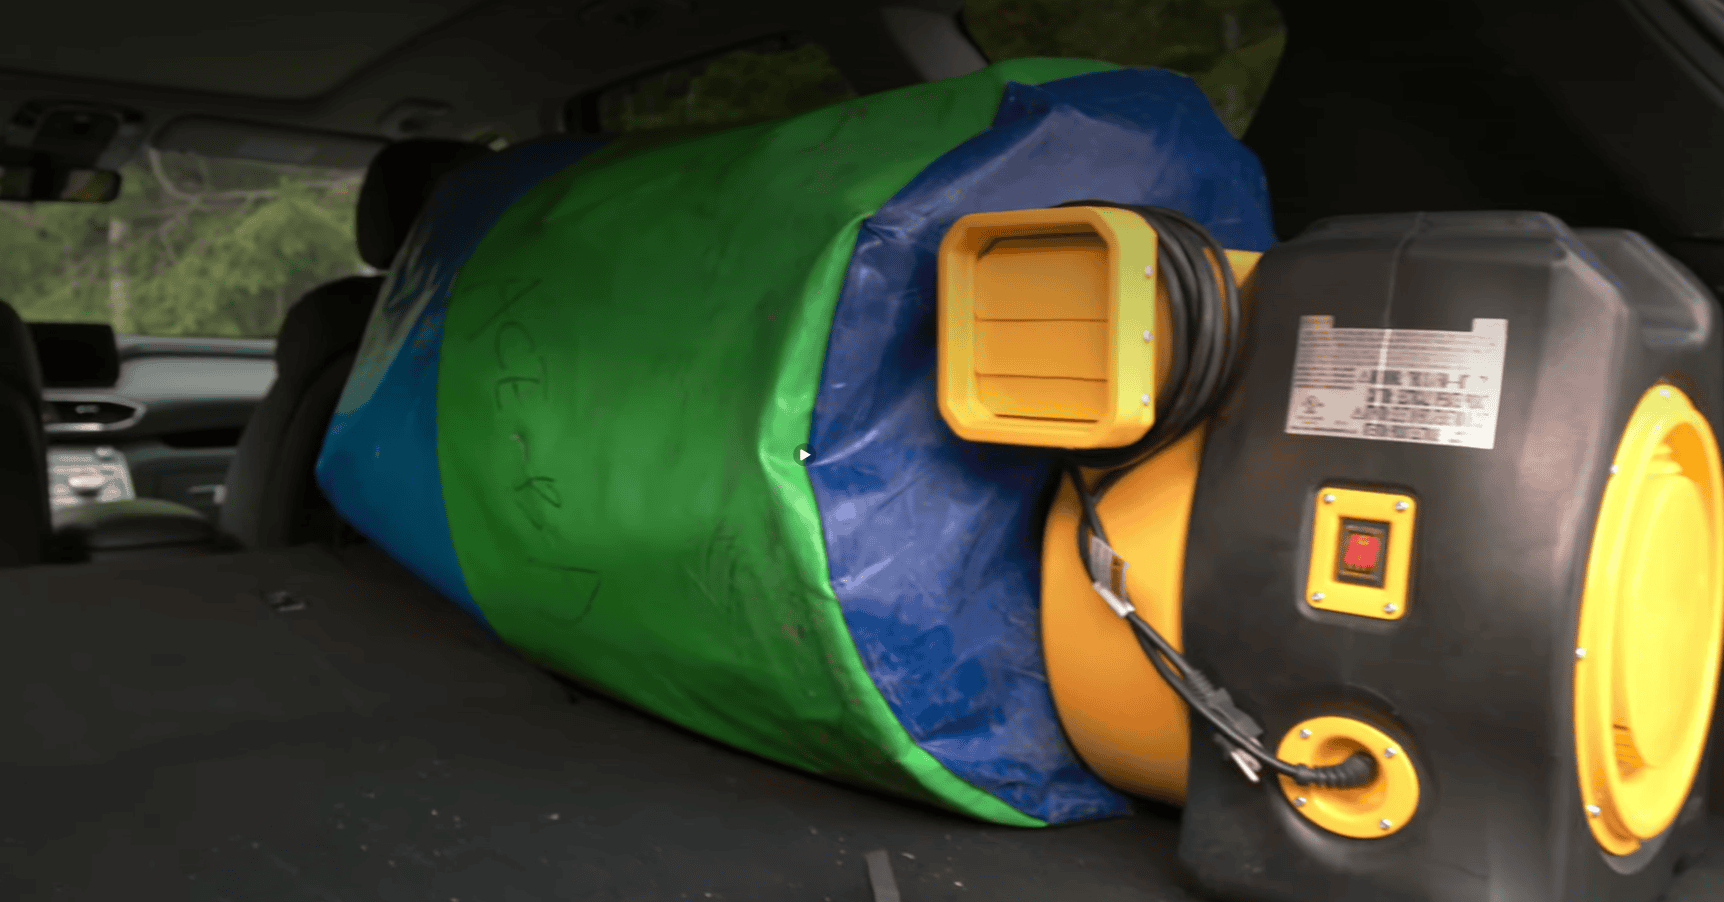
Once you arrive, one of the first things you should do is confirm you’ve picked a flat, stable surface. If you’re setting it up with an airbag, be sure to set up the stunt airbag properly.
Inspect for tears, and make sure the air pump is working properly.
This is true for any time you ride, and especially after moving your equipment to a new location.
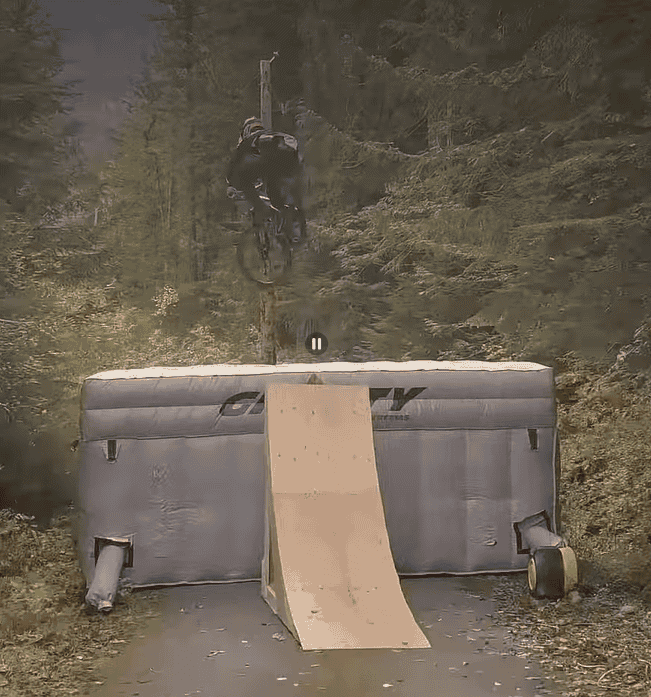
…And feel accomplished even before you take your first jump.
Yes, and that is one of the main reasons we designed these bags at Gravity. We want more families to have more fun together outdoors, without having to spend time or money on bike parks or other places.
Gravity’s portable landing mats are designed to be easier to move, load, and set up than a fixed ramp. Just be sure to review the size, weight, and setup instructions before each trip so you know how much help you need and how to prepare.
Not exactly. Moving airbags usually requires a little extra planning because they’re larger and heavier. Smaller wooden bike ramps are usually simpler to move, depending on the build, but can be awkward in their own way because of their rigidity.
If you’re transporting both, make sure you have adequate space and tethering so that one doesn’t damage the other while your vehicle is moving.
If you’re taking your MTB stunt mat to a new location, make sure there’s enough room to keep it flat or properly supported. Just as with transport, you’ll want to avoid forcing your inflatable pad or ramp into any tight spaces.
Better yet, check out the space beforehand to make sure it’s going to fit. This means looking out for sharp rocks, sticks, or any other sharp or uneven object. You also need to consider the weather. Only use our gear in calm weather, and make sure you secure it with stakes or sandbags.
For all other questions, do not hesitate to reach out and experience our renowned customer service.